
Hello Friends!
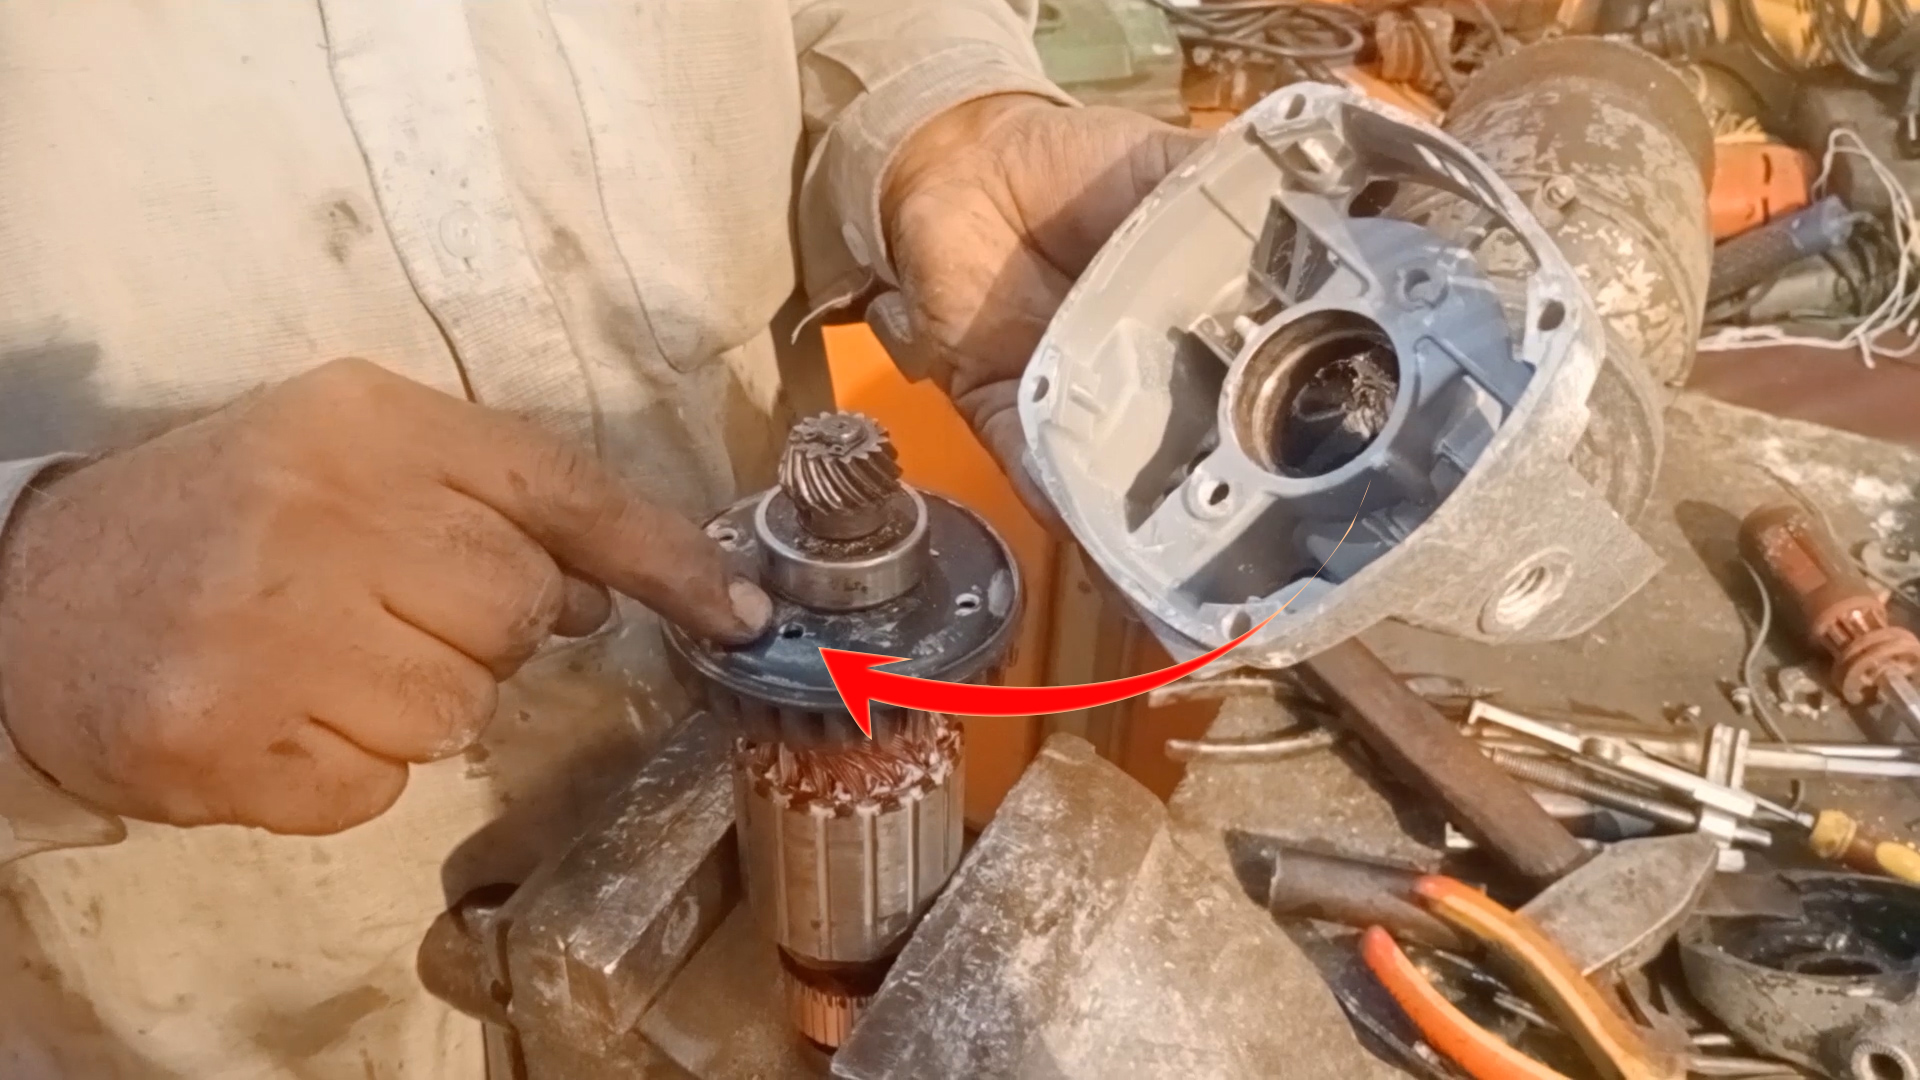
in this post, I will show you step by step how to change your 7-inch angle grinder armature commutator. this is the easiest and cheapest way to repair your armature quickly for your power tools. I hope you will enjoy the post if you learned something new from this method please leave a comment I am waiting foryou can see in this picture this is an armature of a Makita angle grinder 7 inches and
I will teach you how we can repair it without
rewinding the armature
so let's get start it,


Now cut the commutator with the help of a hacksaw

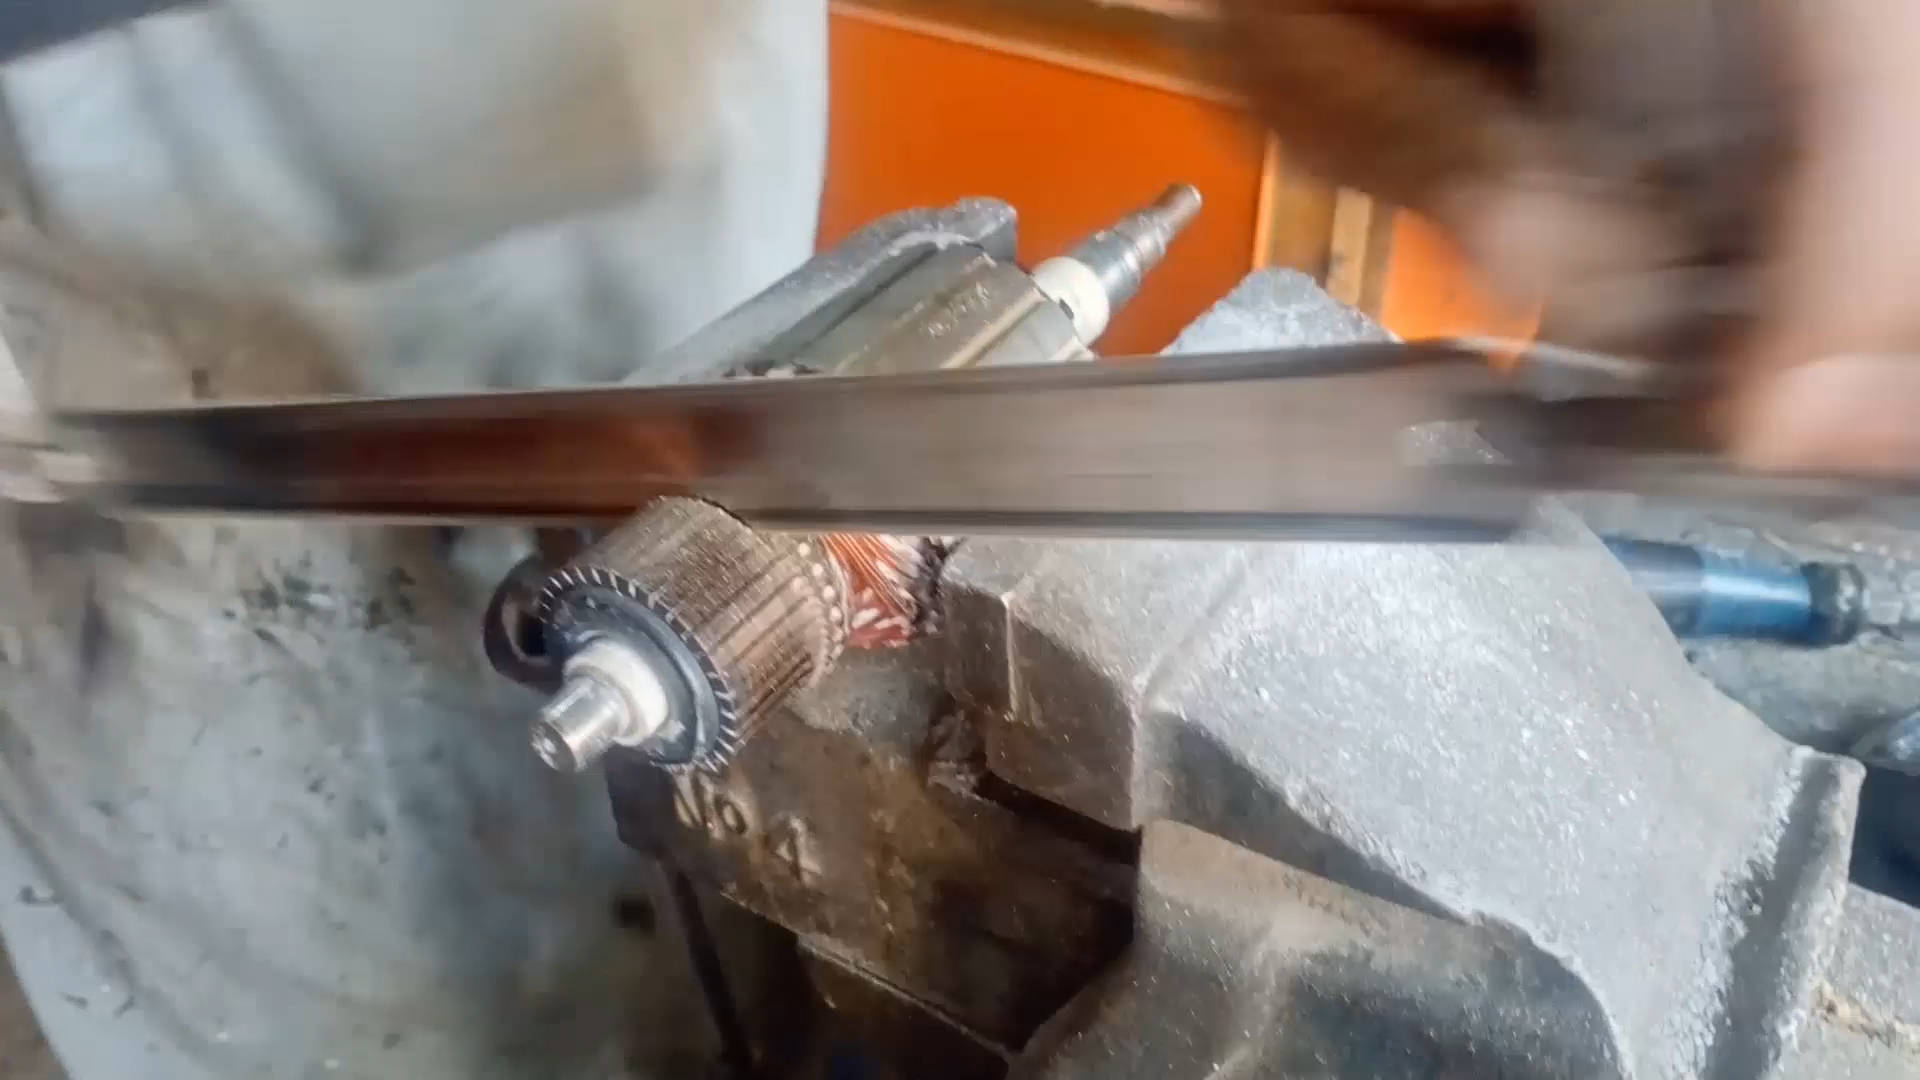

Now use a sharp tool to separate the connections from the commuter as shown in the picture.

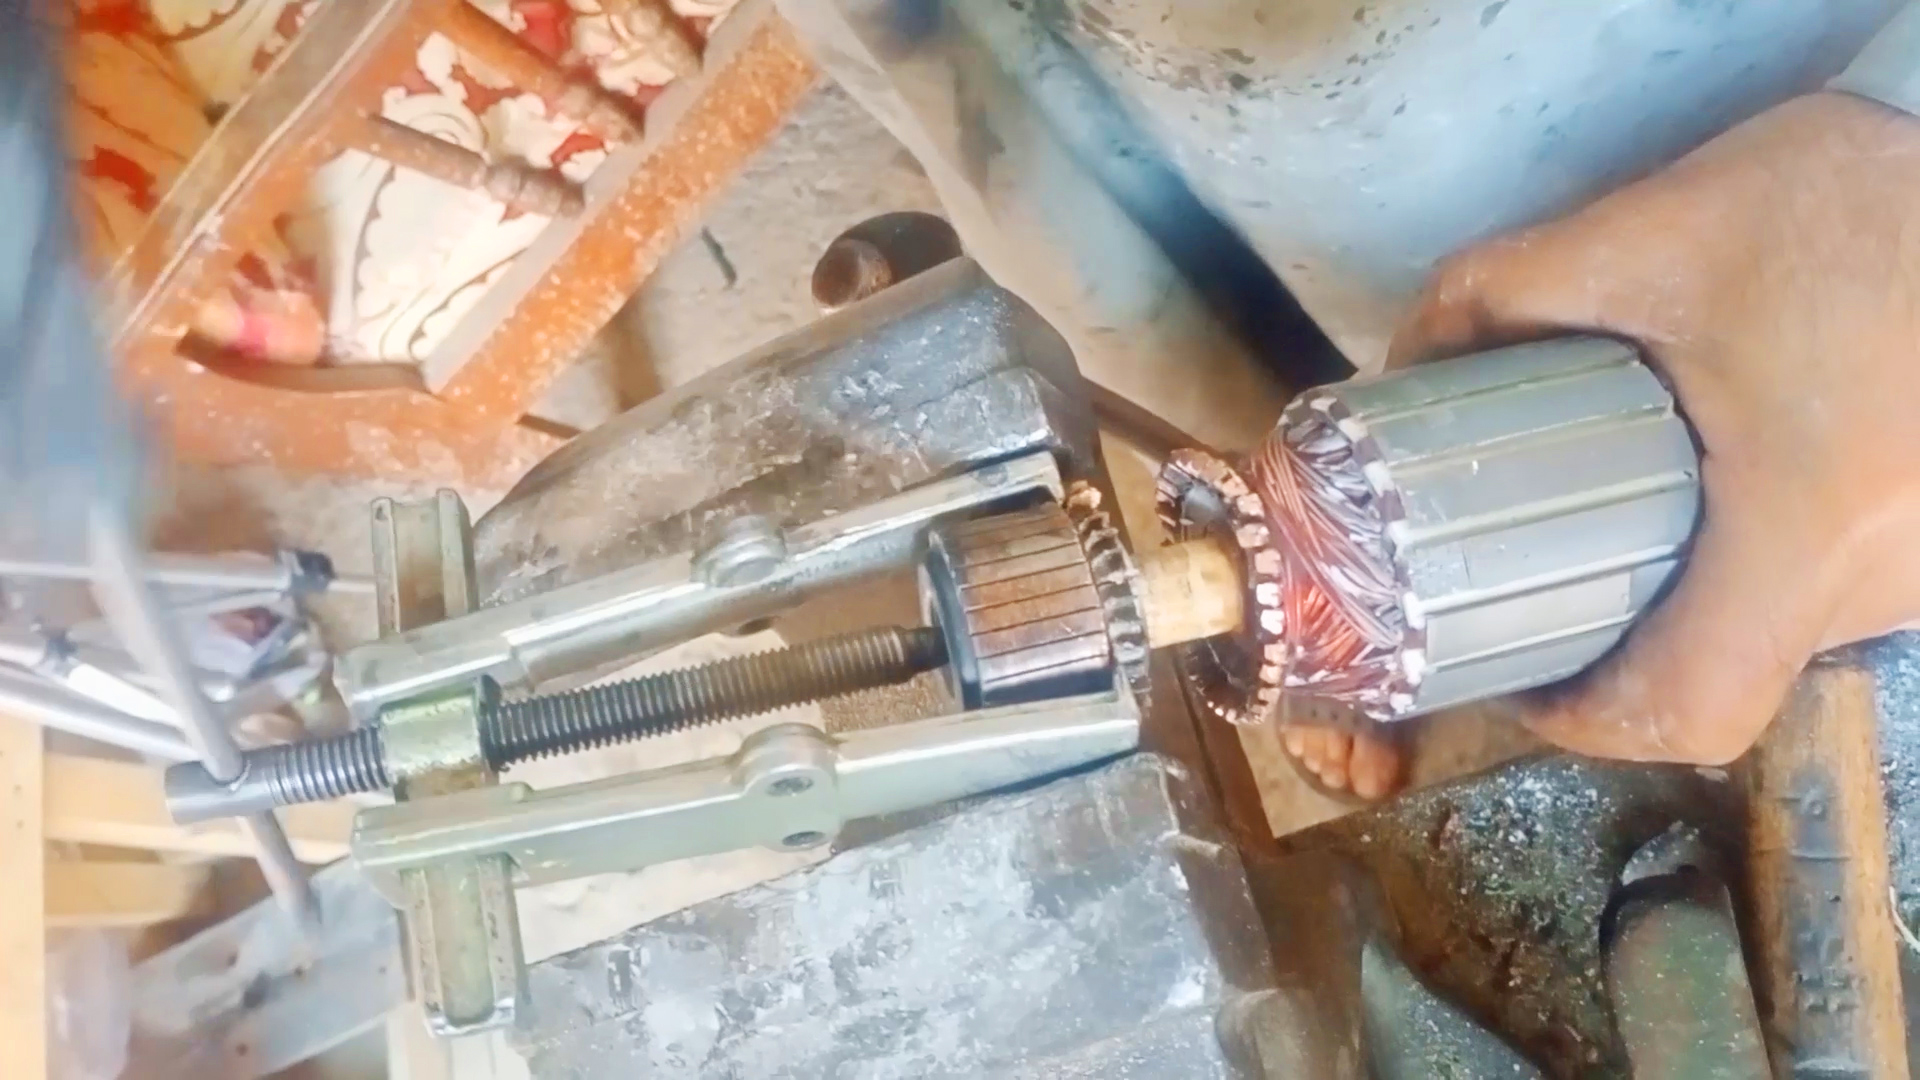
When all connections are disconnected from the commutator, then use the bearing polar to pull out the disconnected commutator.

now use cutter pliers or any kind of tool like this to remove the extra piece of the commutator but very carefully. if you cut any connection mistakenly it can your hard work into garbage


now we will add this new 32 segment commutator

Before attaching it, loosen the roots a little so that the wire is easy to attach


Now the commutator has to be installed in such a way that any of its black stripes come
in front of the armature slot.

Now apply superglue on it so that the commutator is stopped in its place


if you have any problem you can watch the video


0 Comments
a message for everyone!! My blog is now new
If you want to know anything about anything. like power tools, home appliance etc you can tell me in comments. I will try to explain you in detail. thanks